A Guide to Cleaning Window Screens Properly
Shalini Gupta
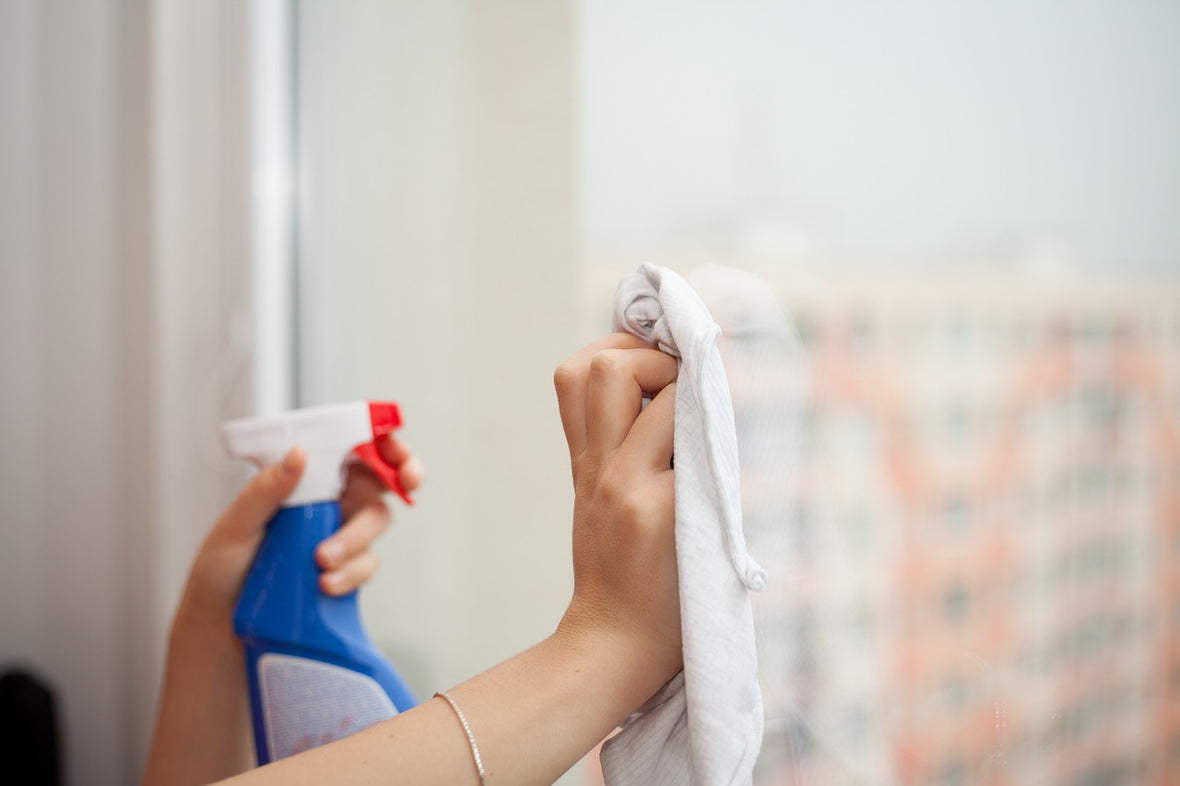
Window screens play an essential role in maintaining the quality of your indoor environment. They allow fresh air to flow into your home while keeping out insects, debris, and other unwanted elements. However, over time, these screens can accumulate dust, dirt, pollen, and even mold, which can affect air quality and reduce the amount of natural light entering your home.
Cleaning window screens is a simple but often overlooked task that can significantly improve the appearance of your home and the functionality of your windows. In this 1000-word guide, we will walk you through the step-by-step process of cleaning window screens properly to ensure they stay in optimal condition year-round.

Why Clean Your Window Screens?
Before diving into the cleaning process, it's essential to understand the benefits of keeping your window screens clean:
- Improved Airflow: Clean screens allow more air to circulate through your home, providing better ventilation and helping to cool your living spaces naturally.
- Better Visibility: Dusty and dirty screens can obstruct your view, making your windows appear cloudy or hazy.
- Enhanced Curb Appeal: Clean window screens contribute to the overall cleanliness and aesthetic of your home, enhancing curb appeal.
- Extended Lifespan of Screens: Regular cleaning prevents dirt and debris from wearing down the screen material, helping them last longer.
Tools and Materials Needed for Cleaning Window Screens
Here are the tools and materials you'll need to clean your window screens effectively:
- Soft-bristle brush or vacuum with a brush attachment
- Mild detergent or dish soap
- Bucket of warm water
- Garden hose (optional)
- Sponge or microfiber cloth
- Towels or rags
- Rubber gloves (optional)
- Vinegar or baking soda (for stubborn stains)
Step 1: Remove the Window Screens
The first step in cleaning your window screens is to remove them from the window frame. While some screens can be cleaned in place, it's often easier and more effective to remove them for a more thorough cleaning. Depending on the type of windows you have, your screens may pop out easily or require a screwdriver to loosen screws or clips.
Once removed, place the screens in a clean area, such as a patio or driveway, where you can easily clean them without making a mess indoors.
Step 2: Dust and Vacuum the Screens
Before applying water or cleaning solutions, it’s crucial to remove loose dust, dirt, and cobwebs from the screens. You can do this by using a soft-bristle brush, vacuum cleaner with a brush attachment, or a lint roller. Gently sweep the surface of the screens to dislodge any loose debris.
If you're using a vacuum, work in an up-and-down motion and cover all areas, including the edges and corners where dirt can accumulate. Be gentle to avoid damaging the mesh material, particularly if your screens are older or fragile.
Step 3: Prepare a Cleaning Solution
For most window screens, a mild cleaning solution made from water and dish soap works perfectly. Here’s how to prepare the solution:
- Fill a bucket with warm water.
- Add a few drops of dish soap or mild detergent to the water. You don’t need much—just enough to create suds.
For extra cleaning power, especially if you’re dealing with stubborn stains or mildew, you can add a bit of white vinegar or baking soda to the solution. These natural cleaning agents can help break down tough grime without damaging the screens.
Step 4: Scrub the Screens
Once your cleaning solution is ready, dip a soft sponge or microfiber cloth into the soapy water and begin scrubbing the screens. Work from the top of the screen to the bottom, using gentle circular motions to avoid stretching or tearing the mesh.
For stubborn spots or areas with built-up grime, you can use a soft-bristle brush to scrub gently. Be cautious not to press too hard, as this could cause the screen to stretch or rip. If you encounter stubborn stains, you can apply a mixture of baking soda and water or use vinegar directly on the stain, allowing it to sit for a few minutes before scrubbing.
Remember to clean both sides of the screens, as dirt can accumulate on the interior side as well.
Step 5: Rinse the Screens
After scrubbing the screens, it's time to rinse away the soap and dirt. If you're cleaning your screens outside, the easiest method is to use a garden hose. Set the hose to a gentle stream and spray the screens from top to bottom to rinse off the soapy residue.
If you don’t have access to a hose, you can also rinse the screens in the bathtub or shower. Hold the screen at an angle and run warm water over it, ensuring all the soap is washed away.
Avoid using high-pressure water, as this can stretch or damage the screen mesh. For extremely delicate screens, a bucket of clean water and a sponge may be a better rinsing option.
Step 6: Dry the Screens
Once the screens have been rinsed, it’s essential to allow them to dry thoroughly before reattaching them to the windows. The easiest way to do this is to lean the screens against a wall or flat surface, allowing them to air dry in the sun.
If you’re in a hurry, you can use towels or rags to gently pat the screens dry. Pay extra attention to the edges and corners, as water can sometimes collect there and cause rust or mildew if not dried properly.
Step 7: Reinstall the Screens
After the screens are completely dry, reinstall them into the window frames. Ensure that they fit securely and that any clips or screws are tightened.
While reattaching the screens, take the opportunity to wipe down the window frames and sills. Dirt and dust often accumulate in these areas, so a quick clean will help keep your windows looking their best.
Maintenance Tips for Clean Window Screens
To keep your window screens in great condition, follow these maintenance tips:
- Regular Cleaning: Aim to clean your screens at least twice a year—once in the spring and once in the fall. This will prevent the buildup of dirt and debris and keep them looking fresh.
- Check for Damage: During your cleaning routine, inspect the screens for any signs of wear and tear, such as holes, tears, or loose spline (the rubber cord that holds the screen in place). Repair any damage promptly to extend the life of your screens.
Conclusion
Properly cleaning your window screens is a simple yet highly effective way to enhance the overall appearance and function of your home. With regular cleaning and maintenance, you can enjoy cleaner air, clearer views, and a more comfortable living space. By following the steps outlined in this guide, you'll have your window screens looking pristine in no time.